1. On the [Bluesky](https://bsky.app/) website, click **Settings** in the left sidebar. 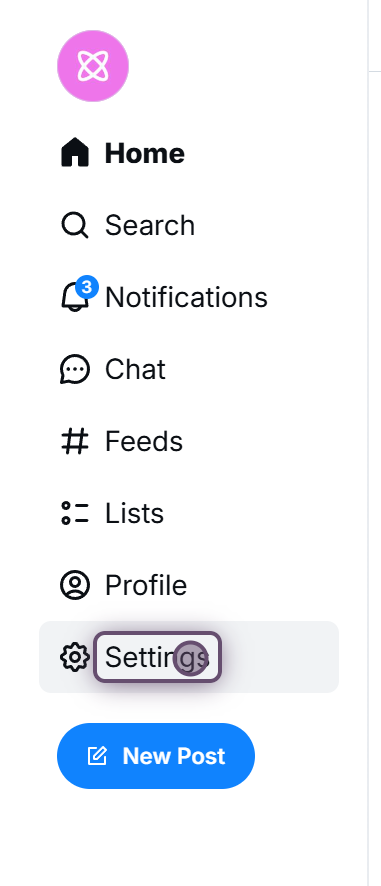
2. Click on **Account** in the list of categories. 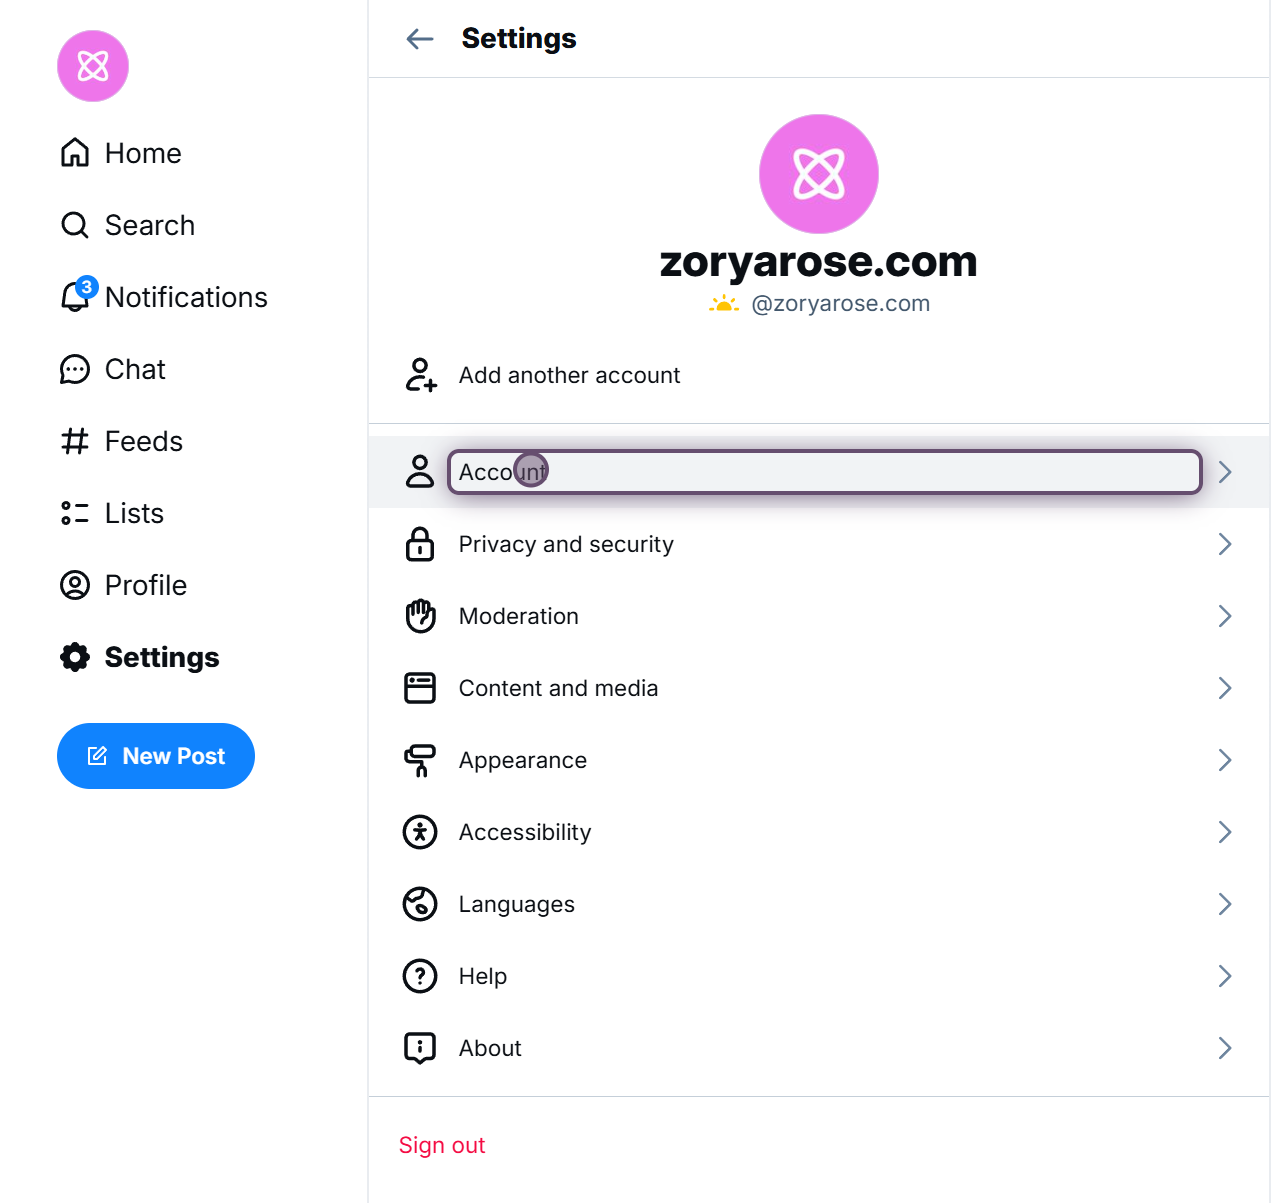
3. Click on the **Handle** category.
_Note that if you haven't confirmed your email yet, you'll see a message here, and you'll need to do that first._ 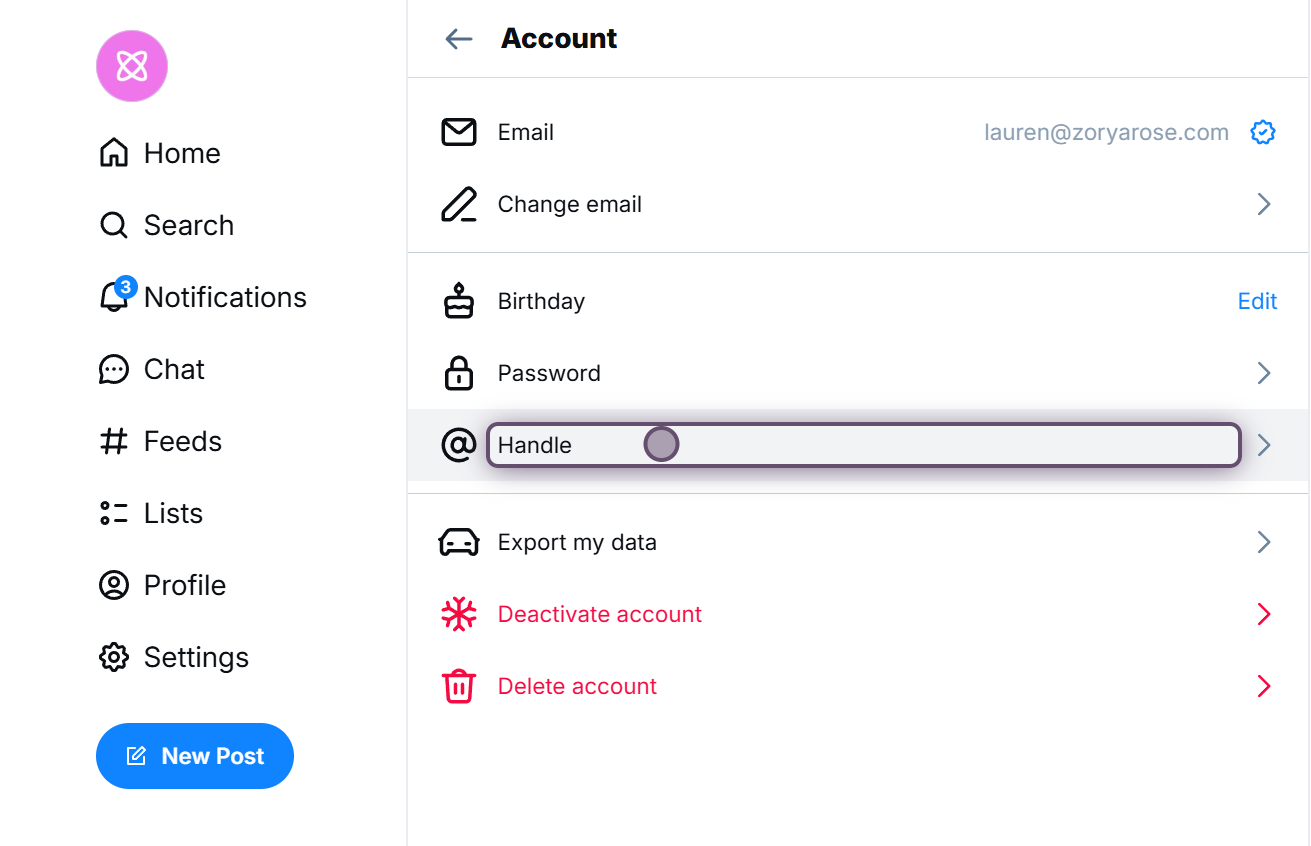
4. Click on the **I have my own domain** button. 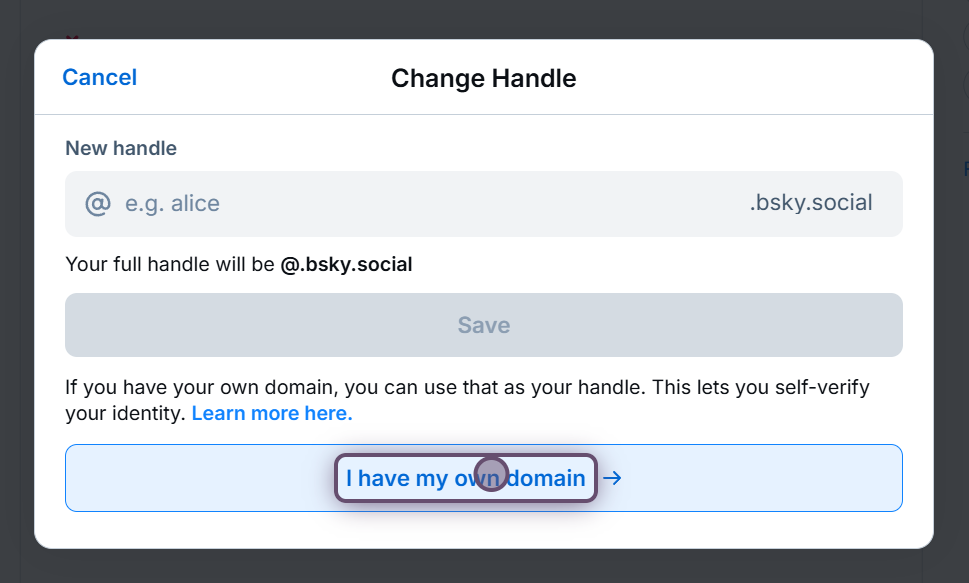
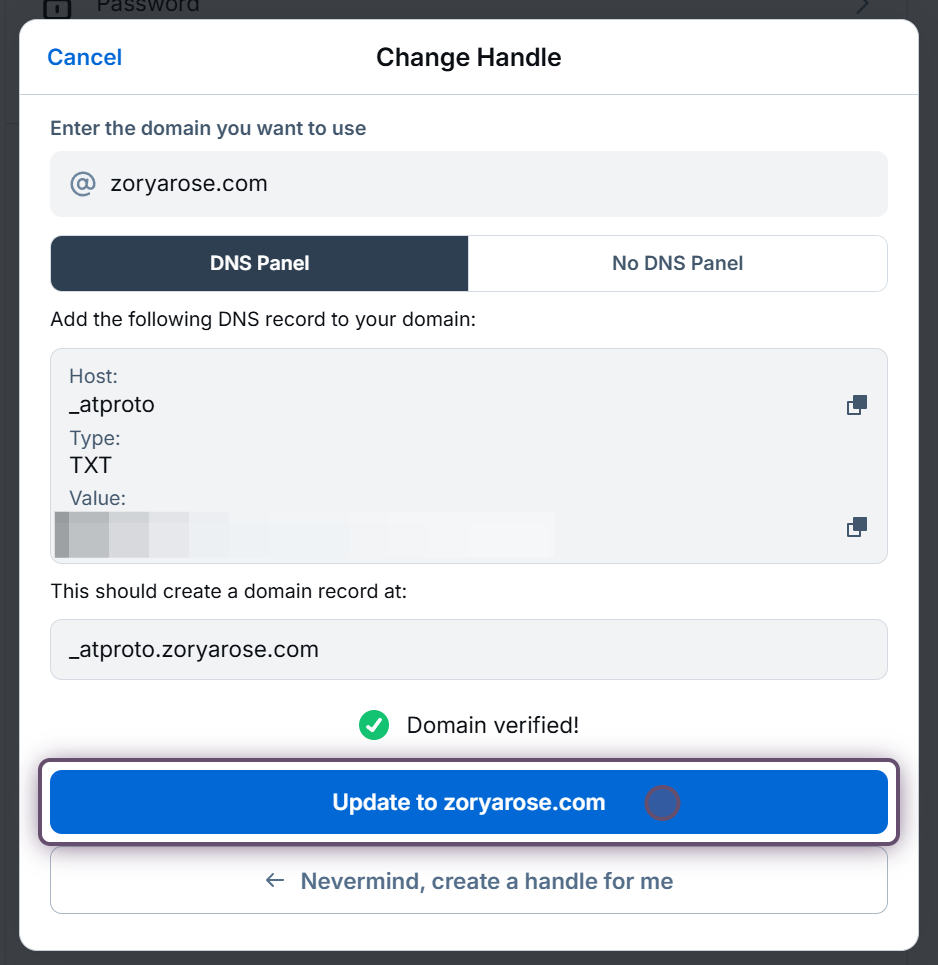
5. Enter the domain name for **your website**. You'll see **zoryarose.com** in my screenshots since that is the domain name of my website. 
- If you have access to the DNS panel for your domain, you will use the information under the **DNS Panel** option.
You will be creating a TXT record with your domain name provider. Here are some links about updating DNS information for common DNS providers:
- [WordPress.com](https://wordpress.com/support/domains/custom-dns/add-a-new-dns-record/ "WordPress.com")
- [Namecheap](https://www.namecheap.com/support/knowledgebase/article.aspx/317/2237/how-do-i-add-txtspfdkimdmarc-records-for-my-domain/)
- [GoDaddy](https://www.godaddy.com/help/add-a-txt-record-19232 "GoDaddy")
- [Wix](https://support.wix.com/en/article/adding-or-updating-txt-records-in-your-wix-account "Wix")
Copy the host (sometimes called name on your DNS provider) using the top copy button, then copy the value using the second copy button. Create the TXT record, then, after waiting a few minutes for it to propagate, click the **Verify DNS Record** button. 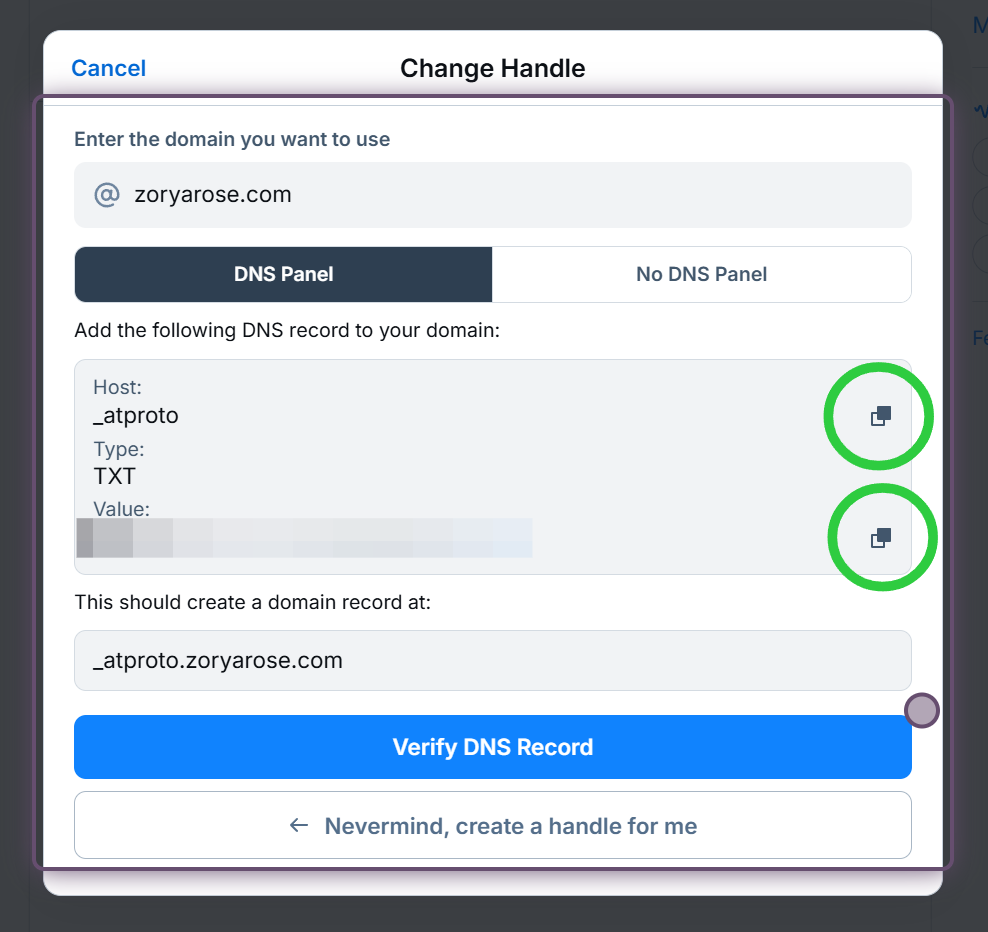
- If you don't have access to your DNS panel but you can upload files to your website, click on the **No DNS Panel** option. 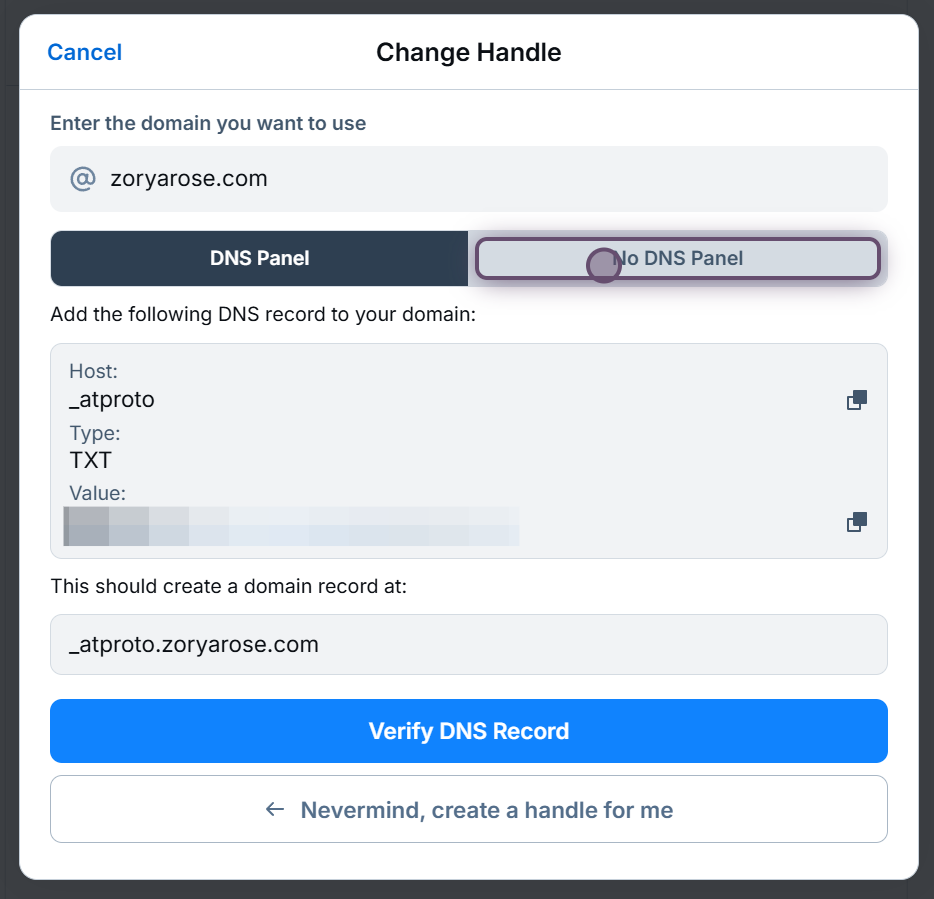
6. Create the text file it specifies and upload it to your website. Then, after waiting a few minutes, click the **Verify Text File** button. 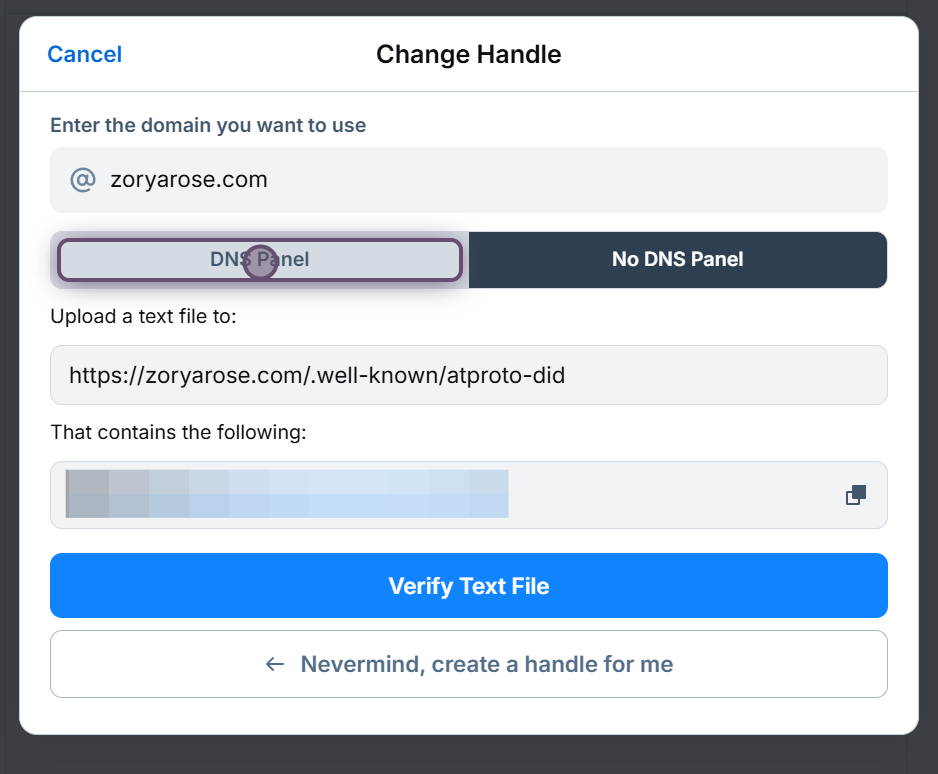
7. Once your domain is verified, click the **Update to [your domain name]** button.